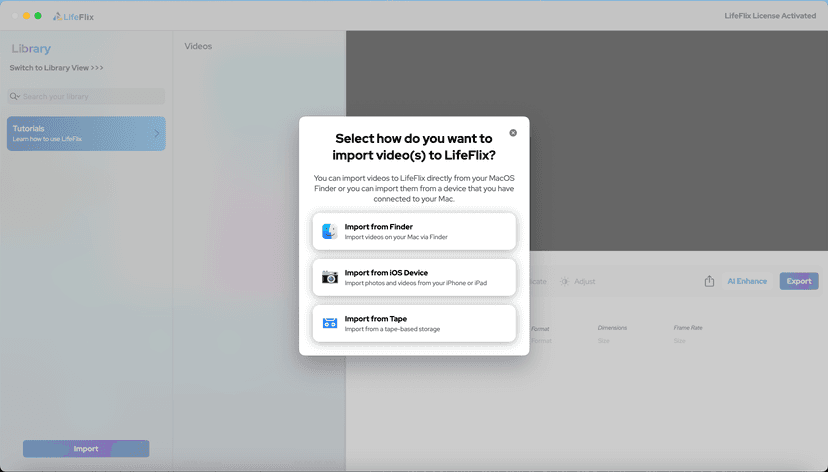
The tapes have been restored. Quality might be mediocre at best and that’s where editing comes in
Why Edit Restored Footage?
Restored footage often comes with its problems- colour inconsistencies, scratches, and sometimes even missing frames. Editing allows you to polish these clips.
Different Software for Editing Restored Footage
1. Basic Editing Software (iMovie, Windows Movie Maker)
Advantages:
- User-Friendly: Incredibly easy to use, making them perfect for beginners.
- Free: Both iMovie and Windows Movie Maker come pre-installed on their respective operating systems.
Disadvantages:
- Limited Features: Basic editing software lacks advanced features like colour correction, stabilization and noise reduction.
- Not Specialized: These tools are not designed specifically for restored footage, so they might be lacking in certain areas.
2. Professional Editing Software (Adobe Premiere Pro, Final Cut Pro)
Advantages:
- Advanced Features: Offer a range of advanced features, including colour correction, stabilization and noise reduction.
- High-Quality Output
Disadvantages:
- Not user friendly: These tools can be overwhelming for beginners.
- Expensive
3. Specialized Restoration and Editing Software
Advantages:
- All-in-One Solution: combines both restoration and editing capabilities
- User-Friendly: Despite its advanced features, generally easy to use.
- Affordable: Compared to professional software, they usually offer a more budget-friendly option.
Disadvantages:
- Platform-Specific: Some might be platform specific
Personally, we would go with a specialised editing and restoration software because it does everything and depending on which service you use, it can do all that at a bargain. That’s where Lifeflix comes in, it’s designed specifically for transferring, restoring, and editing old footage, making it a specialized tool that outshines general-purpose software and it’s a onetime purchase, adding affordability to it. We want you to make the best choice and for that you’ll need information, so let’s go into just a few things that makes Lifeflix stand out from the rest.
Key Features of Lifeflix
1. Automatic Scene Detection
Lifeflix automatically detects and separates different scenes in your footage, saving you hours of manual labour. This feature is a game-changer, especially when dealing with long and continuous clips.
2. Colour Correction
Restored footage often has problems with colour inconsistencies. Lifeflix helps solve this with an intuitive colour correction tool that allows you to adjust brightness, contrast and saturation, bringing your footage back to life.
3. Stabilization
Old footage can be shaky, but Lifeflix's stabilization feature smooths it out, giving you a more professional-looking final product.
4. Noise Reduction
Lifeflix includes a noise reduction feature that helps clean up grainy footage, making it look clearer and more polished.
5. Easy Sharing
Once you're done editing, it is super easy to share. You can export your footage in various formats or directly upload it to social media platforms.
Editing footage doesn't have to be difficult, especially when you have the right tools at your disposal. While there are various approaches to editing, Lifeflix stands out as our go to software. Lifeflix makes the process of editing restored footage a joy rather than a chore.
Most Popular
Join Our LifeFlix Community
Enter Your Email Address to Sign Up for Exclusive Updates!
Own your
memories
forever
withLifeFlix!
Related Guides

Easy Guide To Editing Metadata on LifeFlix Library
A step-by-step guide to viewing, editing, and managing image or video metadata in the LifeFlix Library with AI-assisted tagging.
Read More ➜

Your First Steps in Library: Installation, Setup & Importing
Step-by-step guide to using Library by LifeFlix. Install the free trial, import from tape, Finder, or iPhone, and manage your media with ease.
Read More ➜
