Your First Steps in Library: Installation, Setup & Importing
If you’re new to Library by LifeFlix and not quite ready to commit to a subscription, you can start with the free trial. It’s quick, easy, and gives you a great feel for how the software simplifies your digital media management.
Free Trial Setup
- Go to the Library by LifeFlix homepage.
- Click “Sign Up for Free” in the top-right corner of the site.
- On the next screen:
- Enter your email address.
- Check the box to subscribe to our newsletter.
- Click “Download Free Trial.”
You’ll be redirected to the download page. Follow the on-screen instructions to install Library on your Mac. Once installation is complete, open the LifeFlix application and switch to Library view — you’ll see the viewing type displayed in the top-left corner.
Importing Media
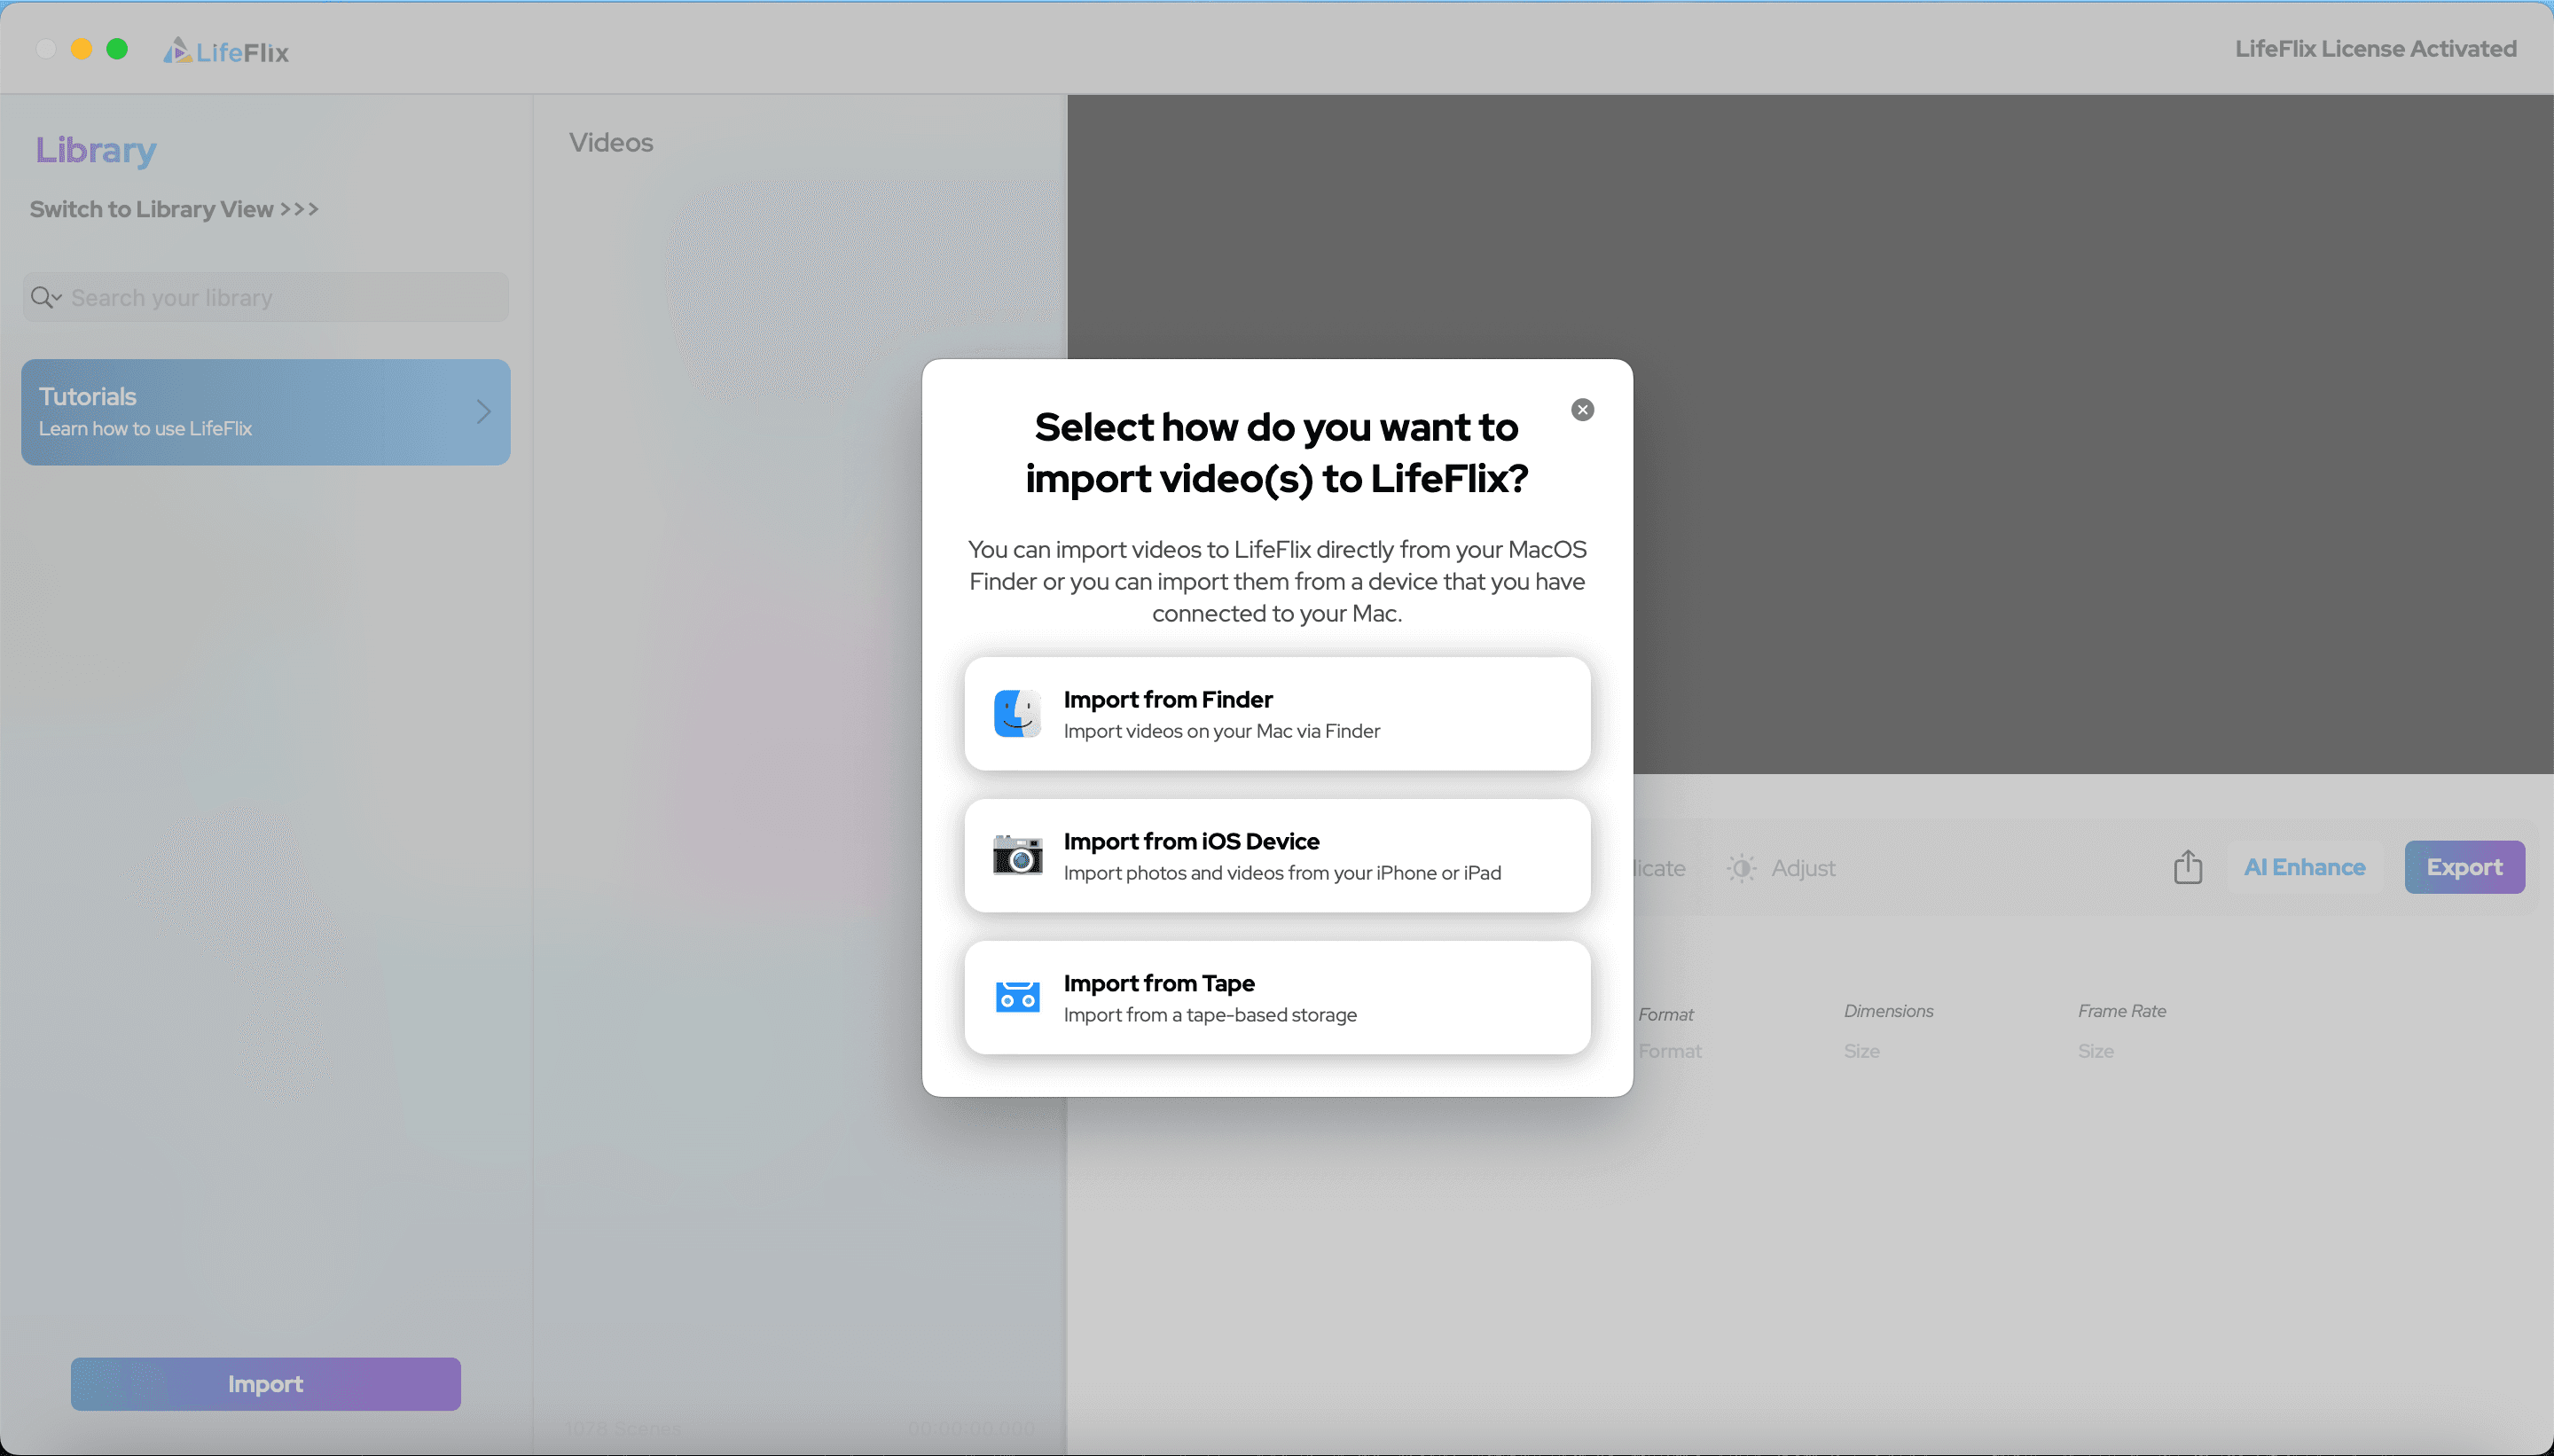
To start importing, click the Import button. You’ll then have two options:
- Import from Tape
- Import from Finder
- Import from iPhone
- Let’s look at all three
Import from Tape
- Connect your camcorder or video capture device using the correct cables:
- FireWire – connect directly from camcorder to Mac.
- USB – connect the camcorder to a video capture device using AV cables, then connect the device to your Mac.
2. Turn on your camcorder and set it to Playback mode.
3. Select your device in the list and click Start Import.
- You can monitor the video in real time during import. To stop recording, click again — your video will automatically save to your Library.
- Once imported, you can fine-tune your video’s color, exposure, sharpness, and more. Just select the video or photo, make your adjustments, and save your changes. (We’ll cover advanced editing features later — for now, we’ll focus on importing.)
- When prompted, choose where you want your files saved. After that, your imported media will appear in the Library. You can also edit metadata later for better organization.
Import from Finder
If your media files are already saved on your Mac, you can easily import them from Finder.
- Choose Import from Finder.
- Select the files you want to import.
- Follow the same process from step 4 of the Tape import section.
Import from iPhone
You can also import media directly from your iPhone.
- Connect your iPhone to your Mac using a Lightning cable (or USB-C, depending on your model).
- Unlock your iPhone and tap “Trust This Computer” if prompted.
- In Library, choose Import from the iPhone.
- Select the photos and videos you’d like to transfer.
- Click Import to begin — your media will automatically appear in your Library once the process is complete.
This is a fast and convenient way to back up your mobile videos and organize them alongside your other media in one place.
All Set!
You’re now ready to start using the Library to organize, import, and manage your videos with ease.
Library by LifeFlix was built with the same dedication and attention to detail that made LifeFlix great — designed to be the ultimate digital media management solution for Mac users.
If you have any questions or need help, don’t hesitate to reach out through our social media channels or Help page. We’re always happy to assist!
Most Popular
Join Our LifeFlix Community
Enter Your Email Address to Sign Up for Exclusive Updates!
Own your
memories
forever
withLifeFlix!
Related Guides

Exporting to NAS
Exporting to NAS - How to export your digitised footage directly to a NAS drive. Covers mounting, connection types, recommended devices, and best prac...
Read More ➜

End of Tape Marker Explained
End of Tape Marker Explained - LifeFlix stopped and said end of tape. Here is what that marker means, when it appears early, and what to do about it.
Read More ➜