
Follow this step-by-step guide:
Step 1: Prepare Your Mac and LifeFlix
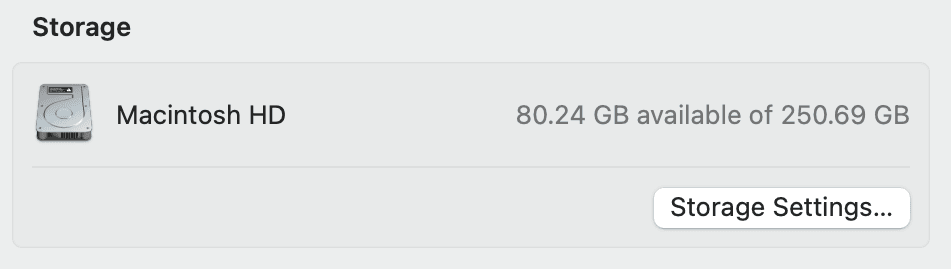
- Ensure your Mac has enough storage. To check storage on Mac:
a. Click the Apple logo - About This Mac
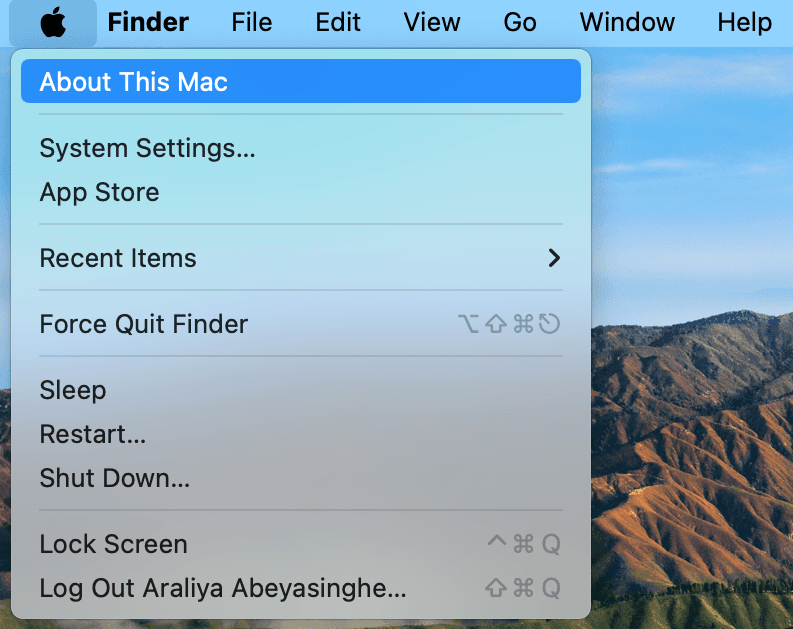
b. More Info
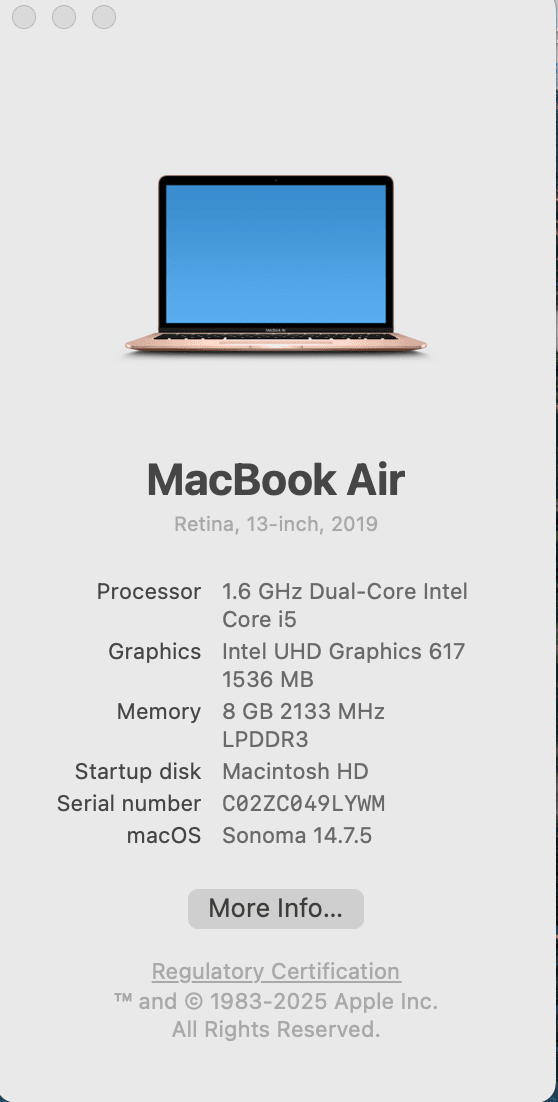
c. Storage
2. Download and install LifeFlix from lifeflix.com
3 .Launch LifeFlix and create a media library for your videos. You can organize folders by year, event, or type.
This makes LifeFlix an excellent media library software for Mac users who want a secure media library.
Step 2: Importing Videos
LifeFlix allows you to import media in three ways:
A. Import iPhone Videos
- Connect your iPhone to your Mac using a cable.
- Open LifeFlix - select Import - from Device.
- Choose your iPhone from the device list.
- Select the videos you want to import.
- Click Import to save the videos into your library.
B. Import Legacy Tapes (VHS, MiniDV, Video8, Hi8, HDV)
- Connect your tape player (VCR, camcorder) to your Mac using a compatible capture device.
- Open LifeFlix - select Import - from Tape.
- Choose the tape format.
- Play the tape and press record in LifeFlix.
- Select whether you want to capture the full tape or trim specific segments.
- Save your imported videos in your media library for easy access and soon enjoy the upcoming cloud storage backup feature.
C. Import from Finder
- Import Videos directly from your Mac folders
- Open LifeFlix - select Import - from Finder
- Choose the video and Click
Step 3: Organize Your Media Library
Use LifeFlix’s folder structure to categorize by type or event. Users can also add metadata for easy searching to make your media library software more powerful.
We have upcoming features in the pipeline which will include syncing your library with icloud, cloud storage solutions, AI tools, and smart albums. LifeFlix ensures your photo backup for iPhone and video back up are easy and reliable.
Step 4: Edit, Enhance, and Share
LifeFlix offers editing tools suitable for beginners and professionals alike, acting as a Mac video editing tool.
- Trim – Cut the start or end of clips.
- Split – Break long clips into smaller segments.
- Combine – Merge multiple clips into one.
- Video Adjustments – Modify exposure, color, sharpness, vibrance, and more.
Step 5: Export, Share & Distribution
LifeFlix makes exporting, sharing, and backing up simple.
- Share Tools – Export and distribute videos directly from LifeFlix.
Options include AirDrop, Apple Messages, Dropbox, Email, Notes, or Photos.
- Export for Editing – Save your videos in professional formats for advanced editing.
Export in QuickTime MOV format or MP4 for compatibility with pro editing platforms like Final Cut.
Step 6: Backup and Future-Proof Your Media
- Back up your LifeFlix media library to an external drive.
- LifeFlix will soon have the iCloud sync to backup and sync your tapes and scenes across devices securely.
- Ensure all media is properly archived for long-term storage. LifeFlix supports future proofing videos by converting formats compatible with newer macOS versions.
Ready to start using LifeFlix to preserve and enjoy your memories?
Download LifeFlix today and start importing, editing, and sharing your iPhone videos and old tapes with ease.
Most Popular
Join Our LifeFlix Community
Enter Your Email Address to Sign Up for Exclusive Updates!
Own your
memories
forever
withLifeFlix!
Related Guides

Exporting to NAS
Exporting to NAS - How to export your digitised footage directly to a NAS drive. Covers mounting, connection types, recommended devices, and best prac...
Read More ➜

End of Tape Marker Explained
End of Tape Marker Explained - LifeFlix stopped and said end of tape. Here is what that marker means, when it appears early, and what to do about it.
Read More ➜